How to Make Sanding Sticks for Jewelry & Metalworking
Use the Right & Left Arrows for navigation through the slideshow.
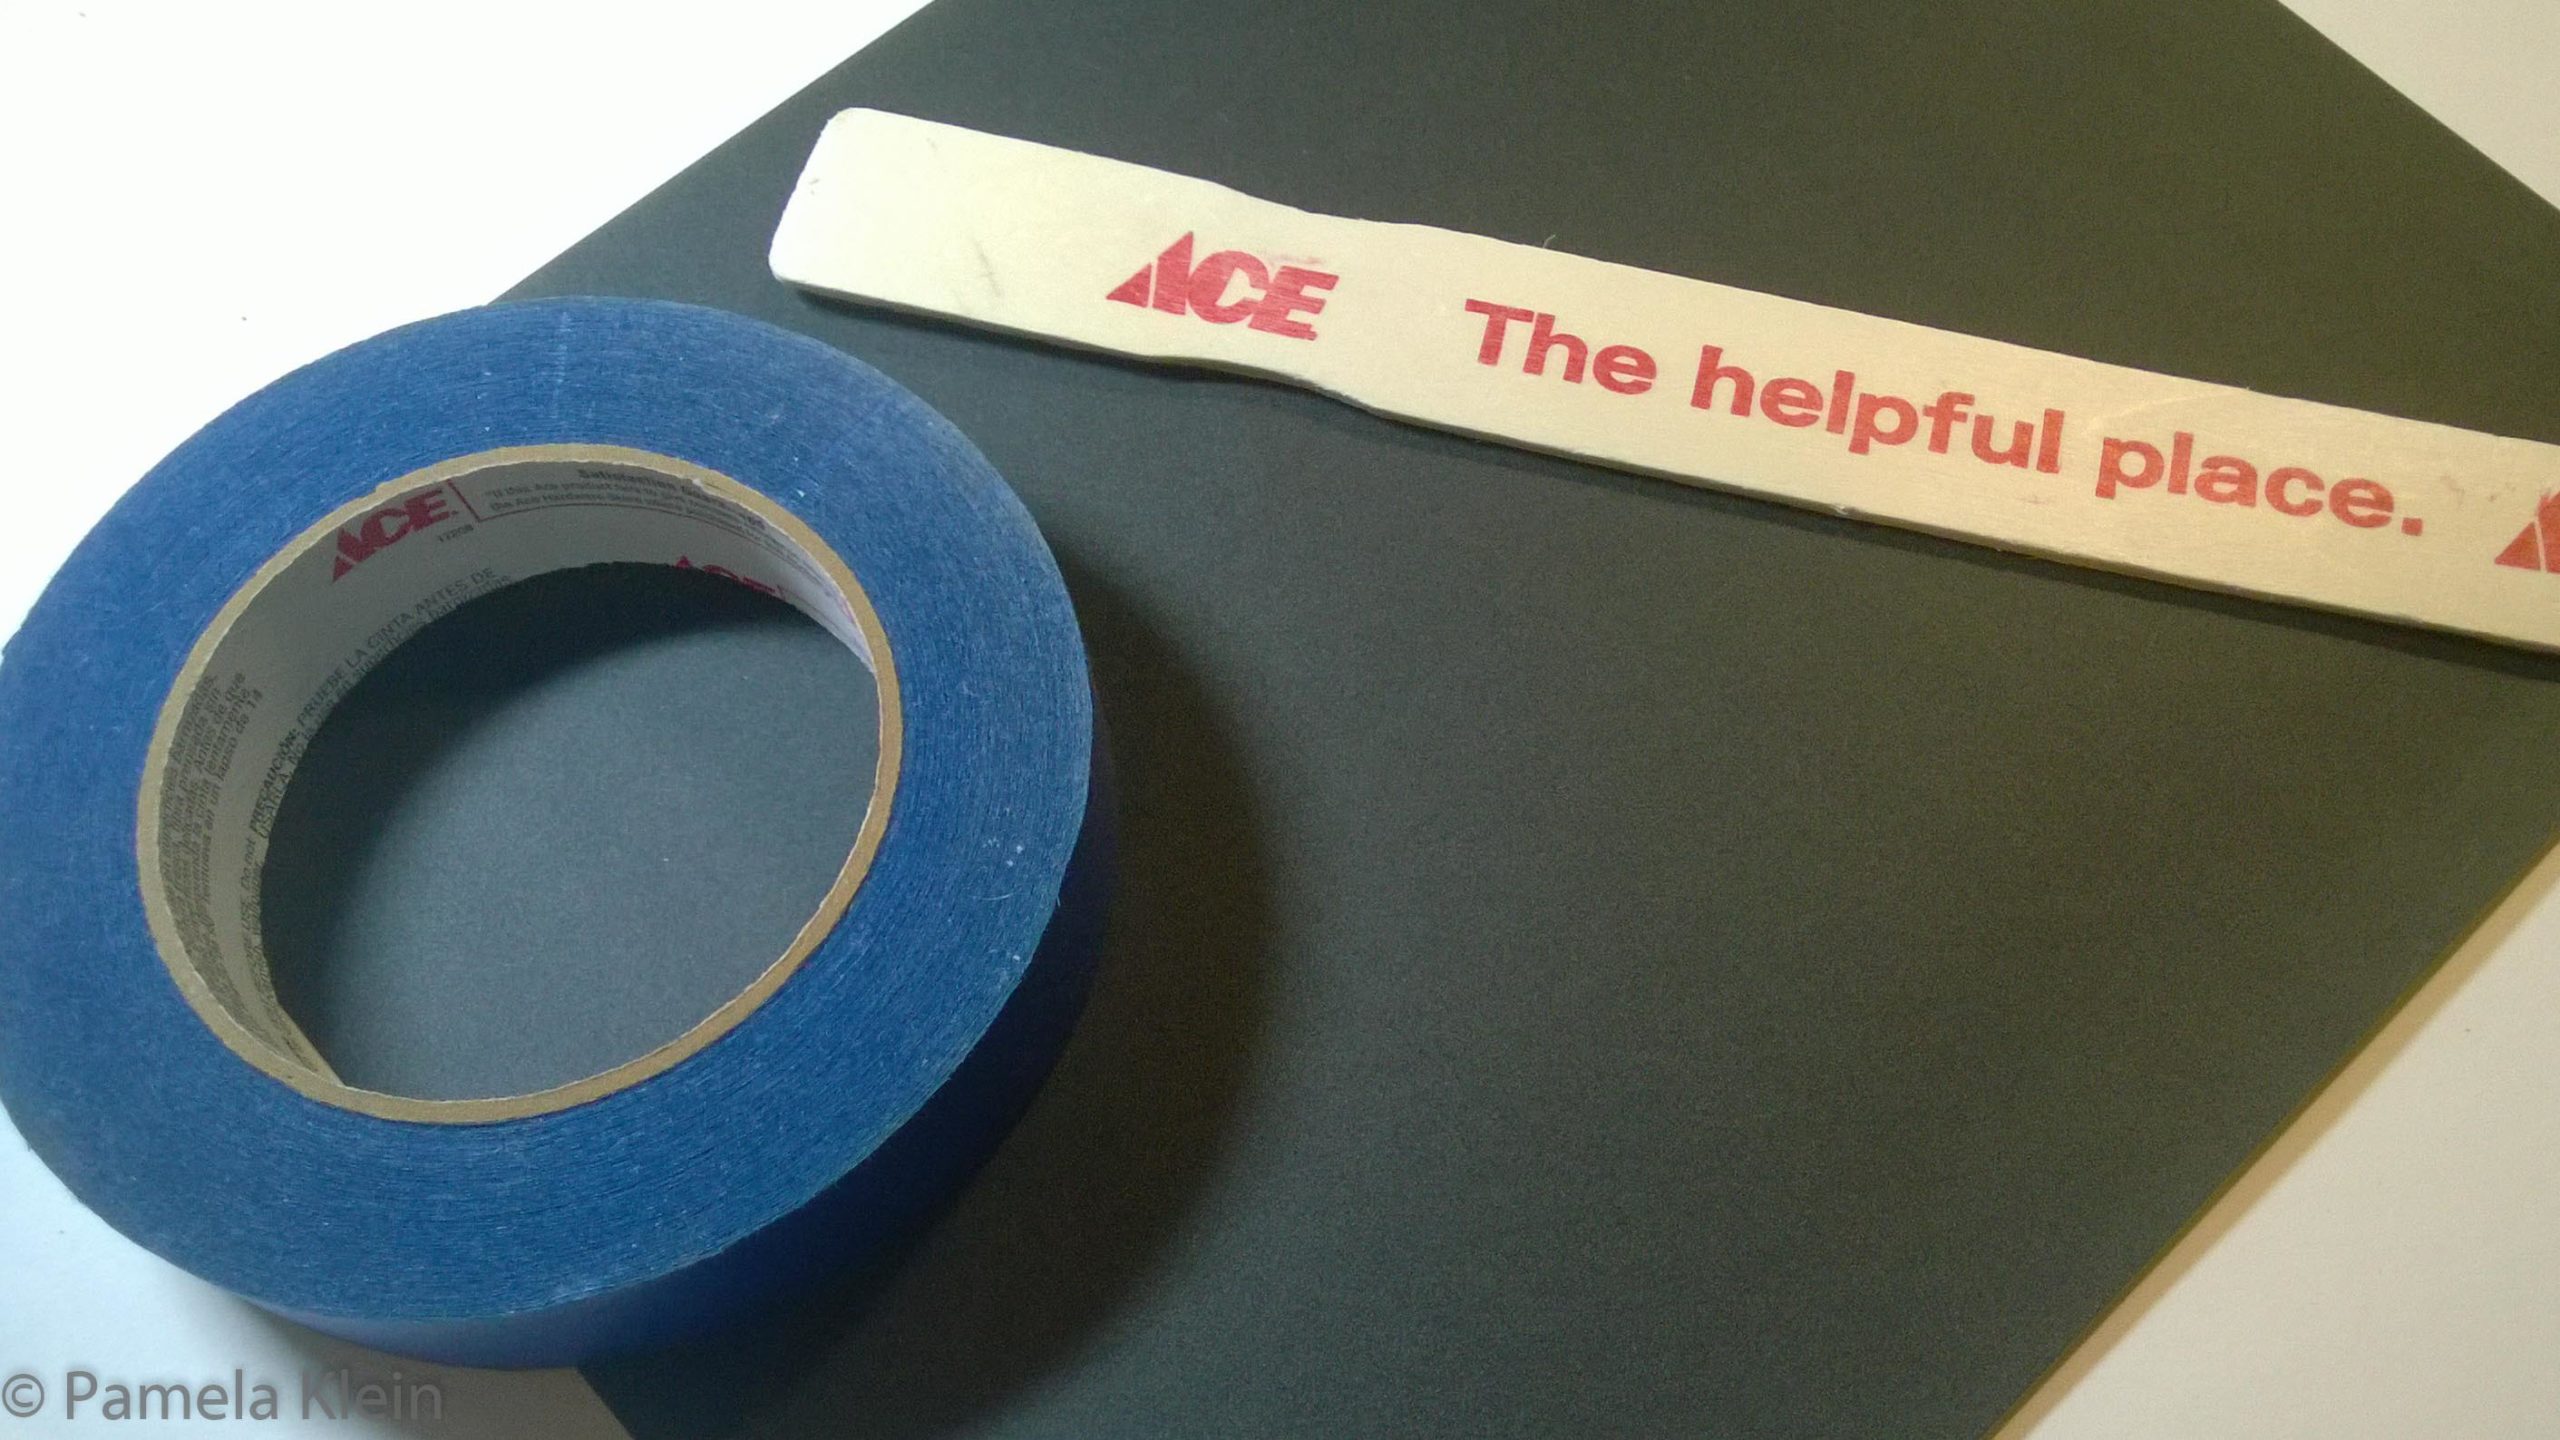
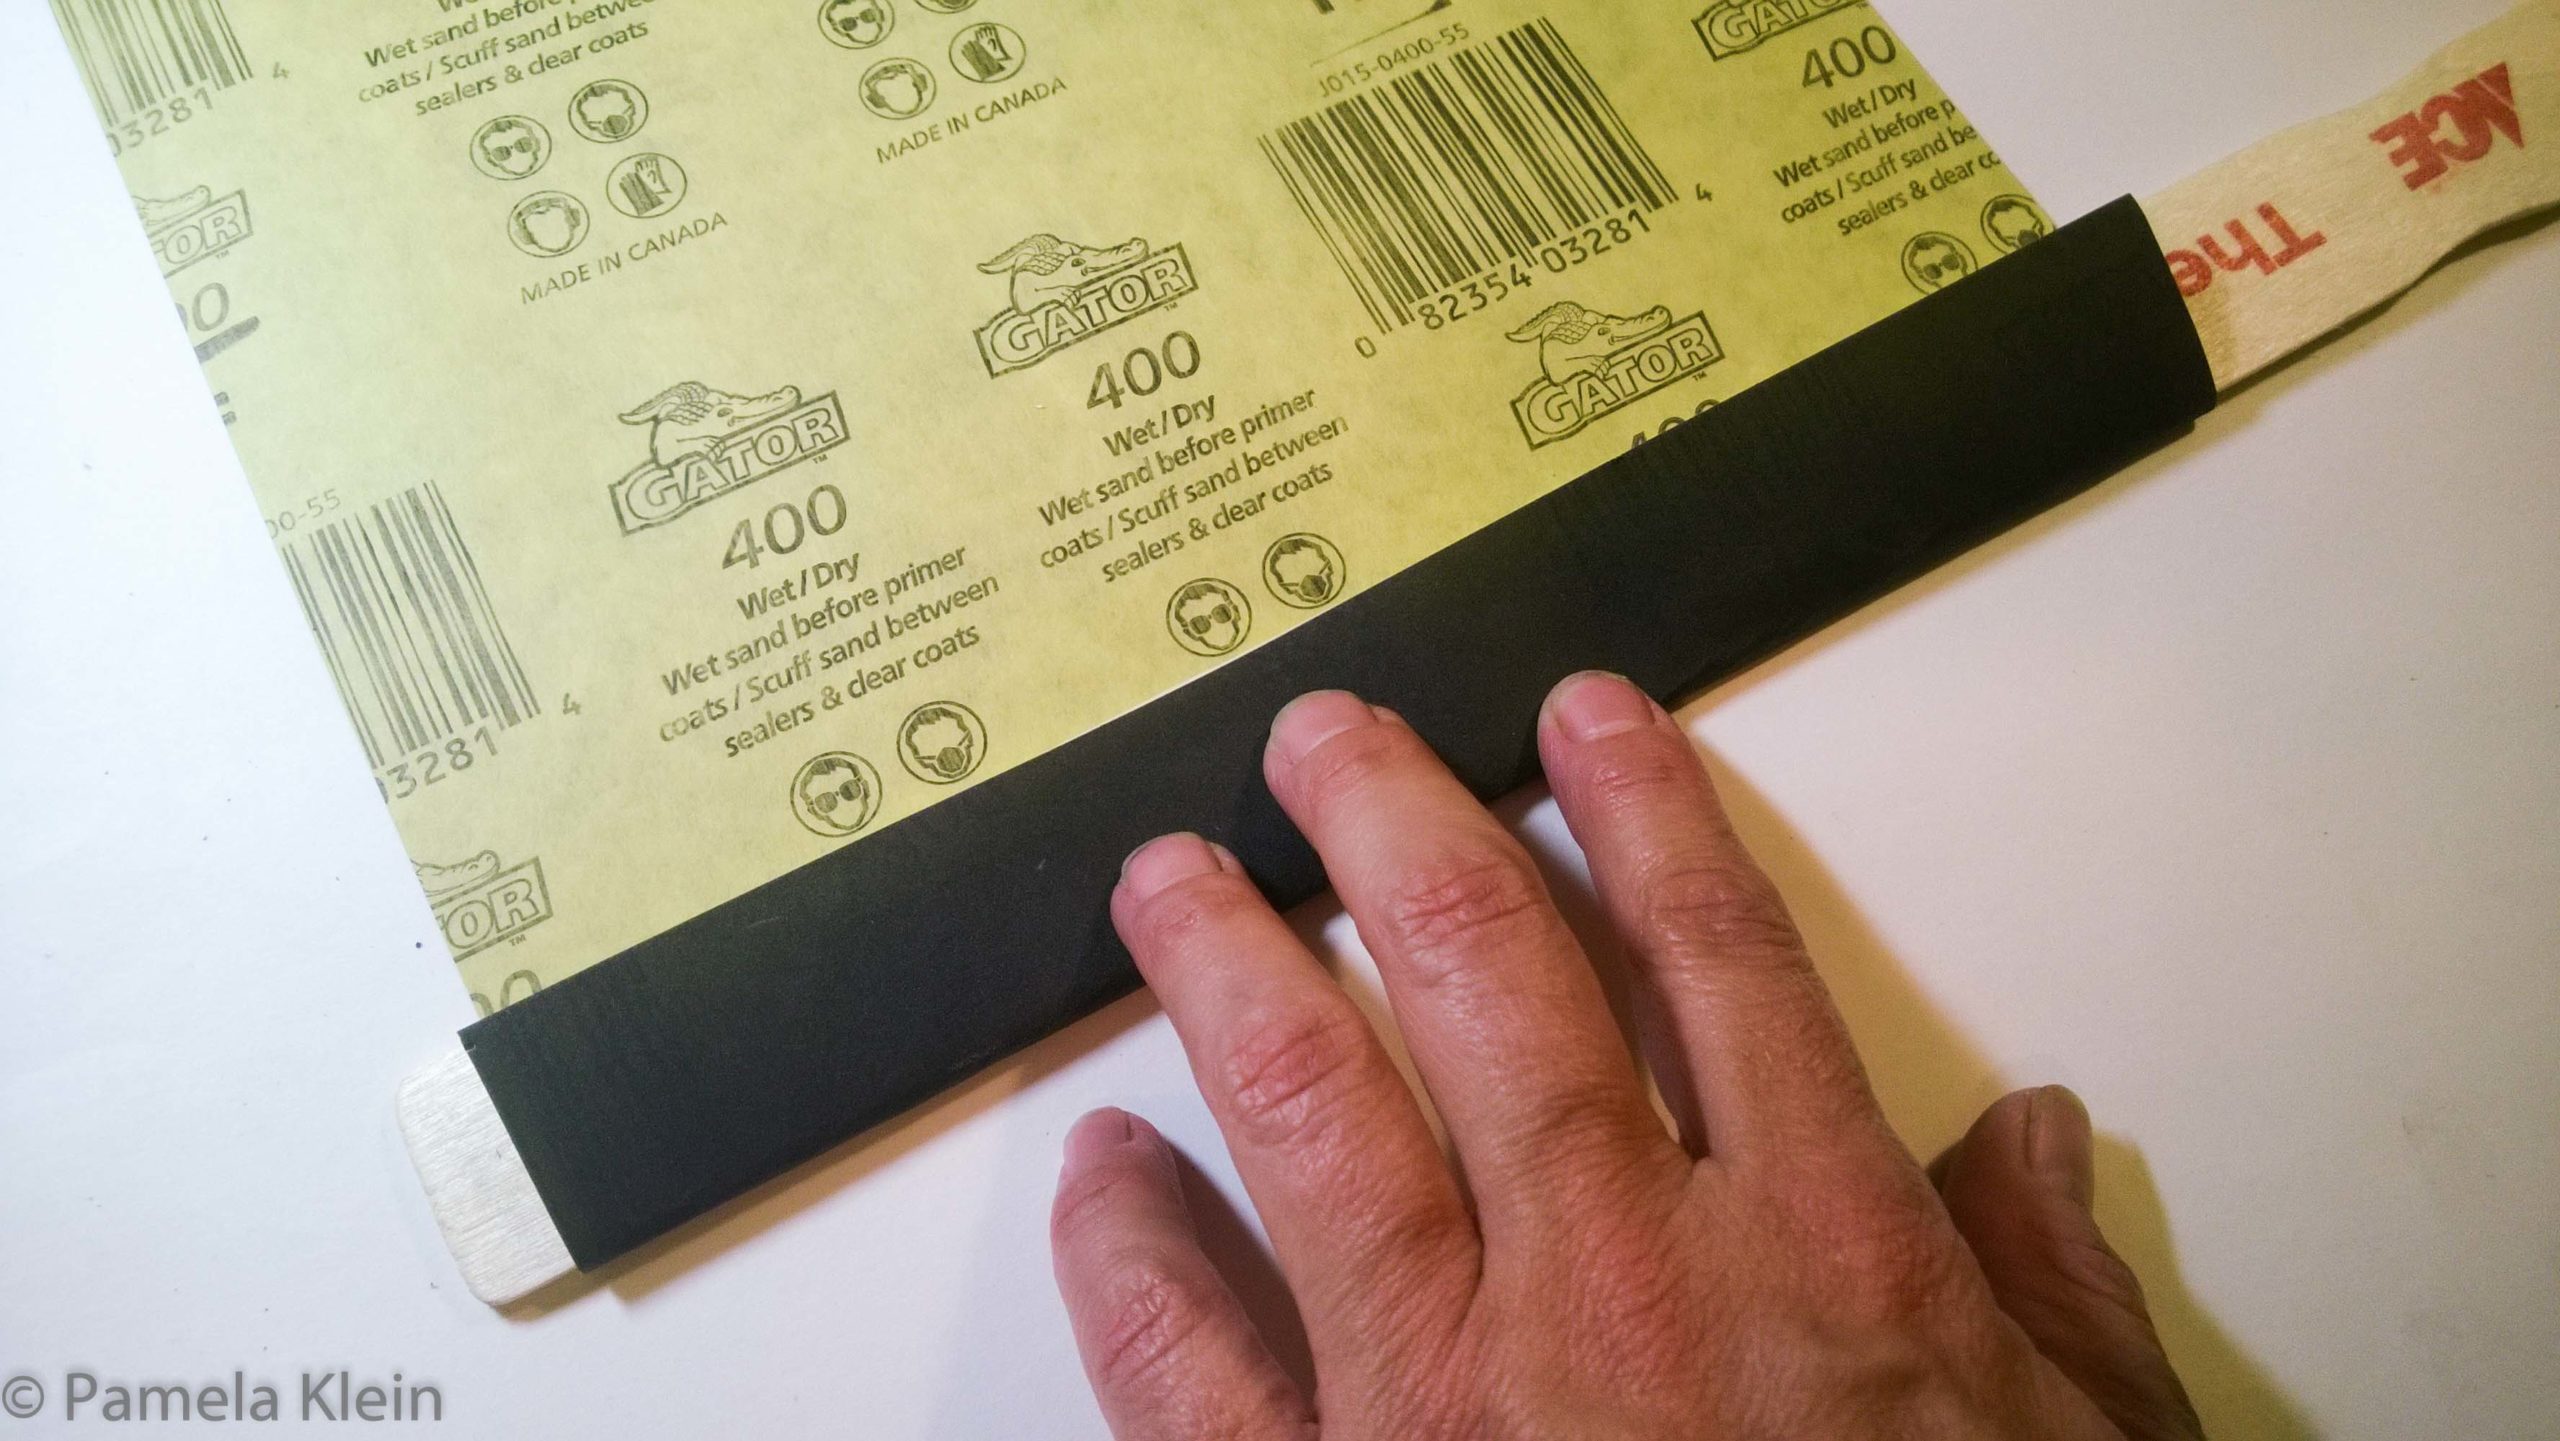
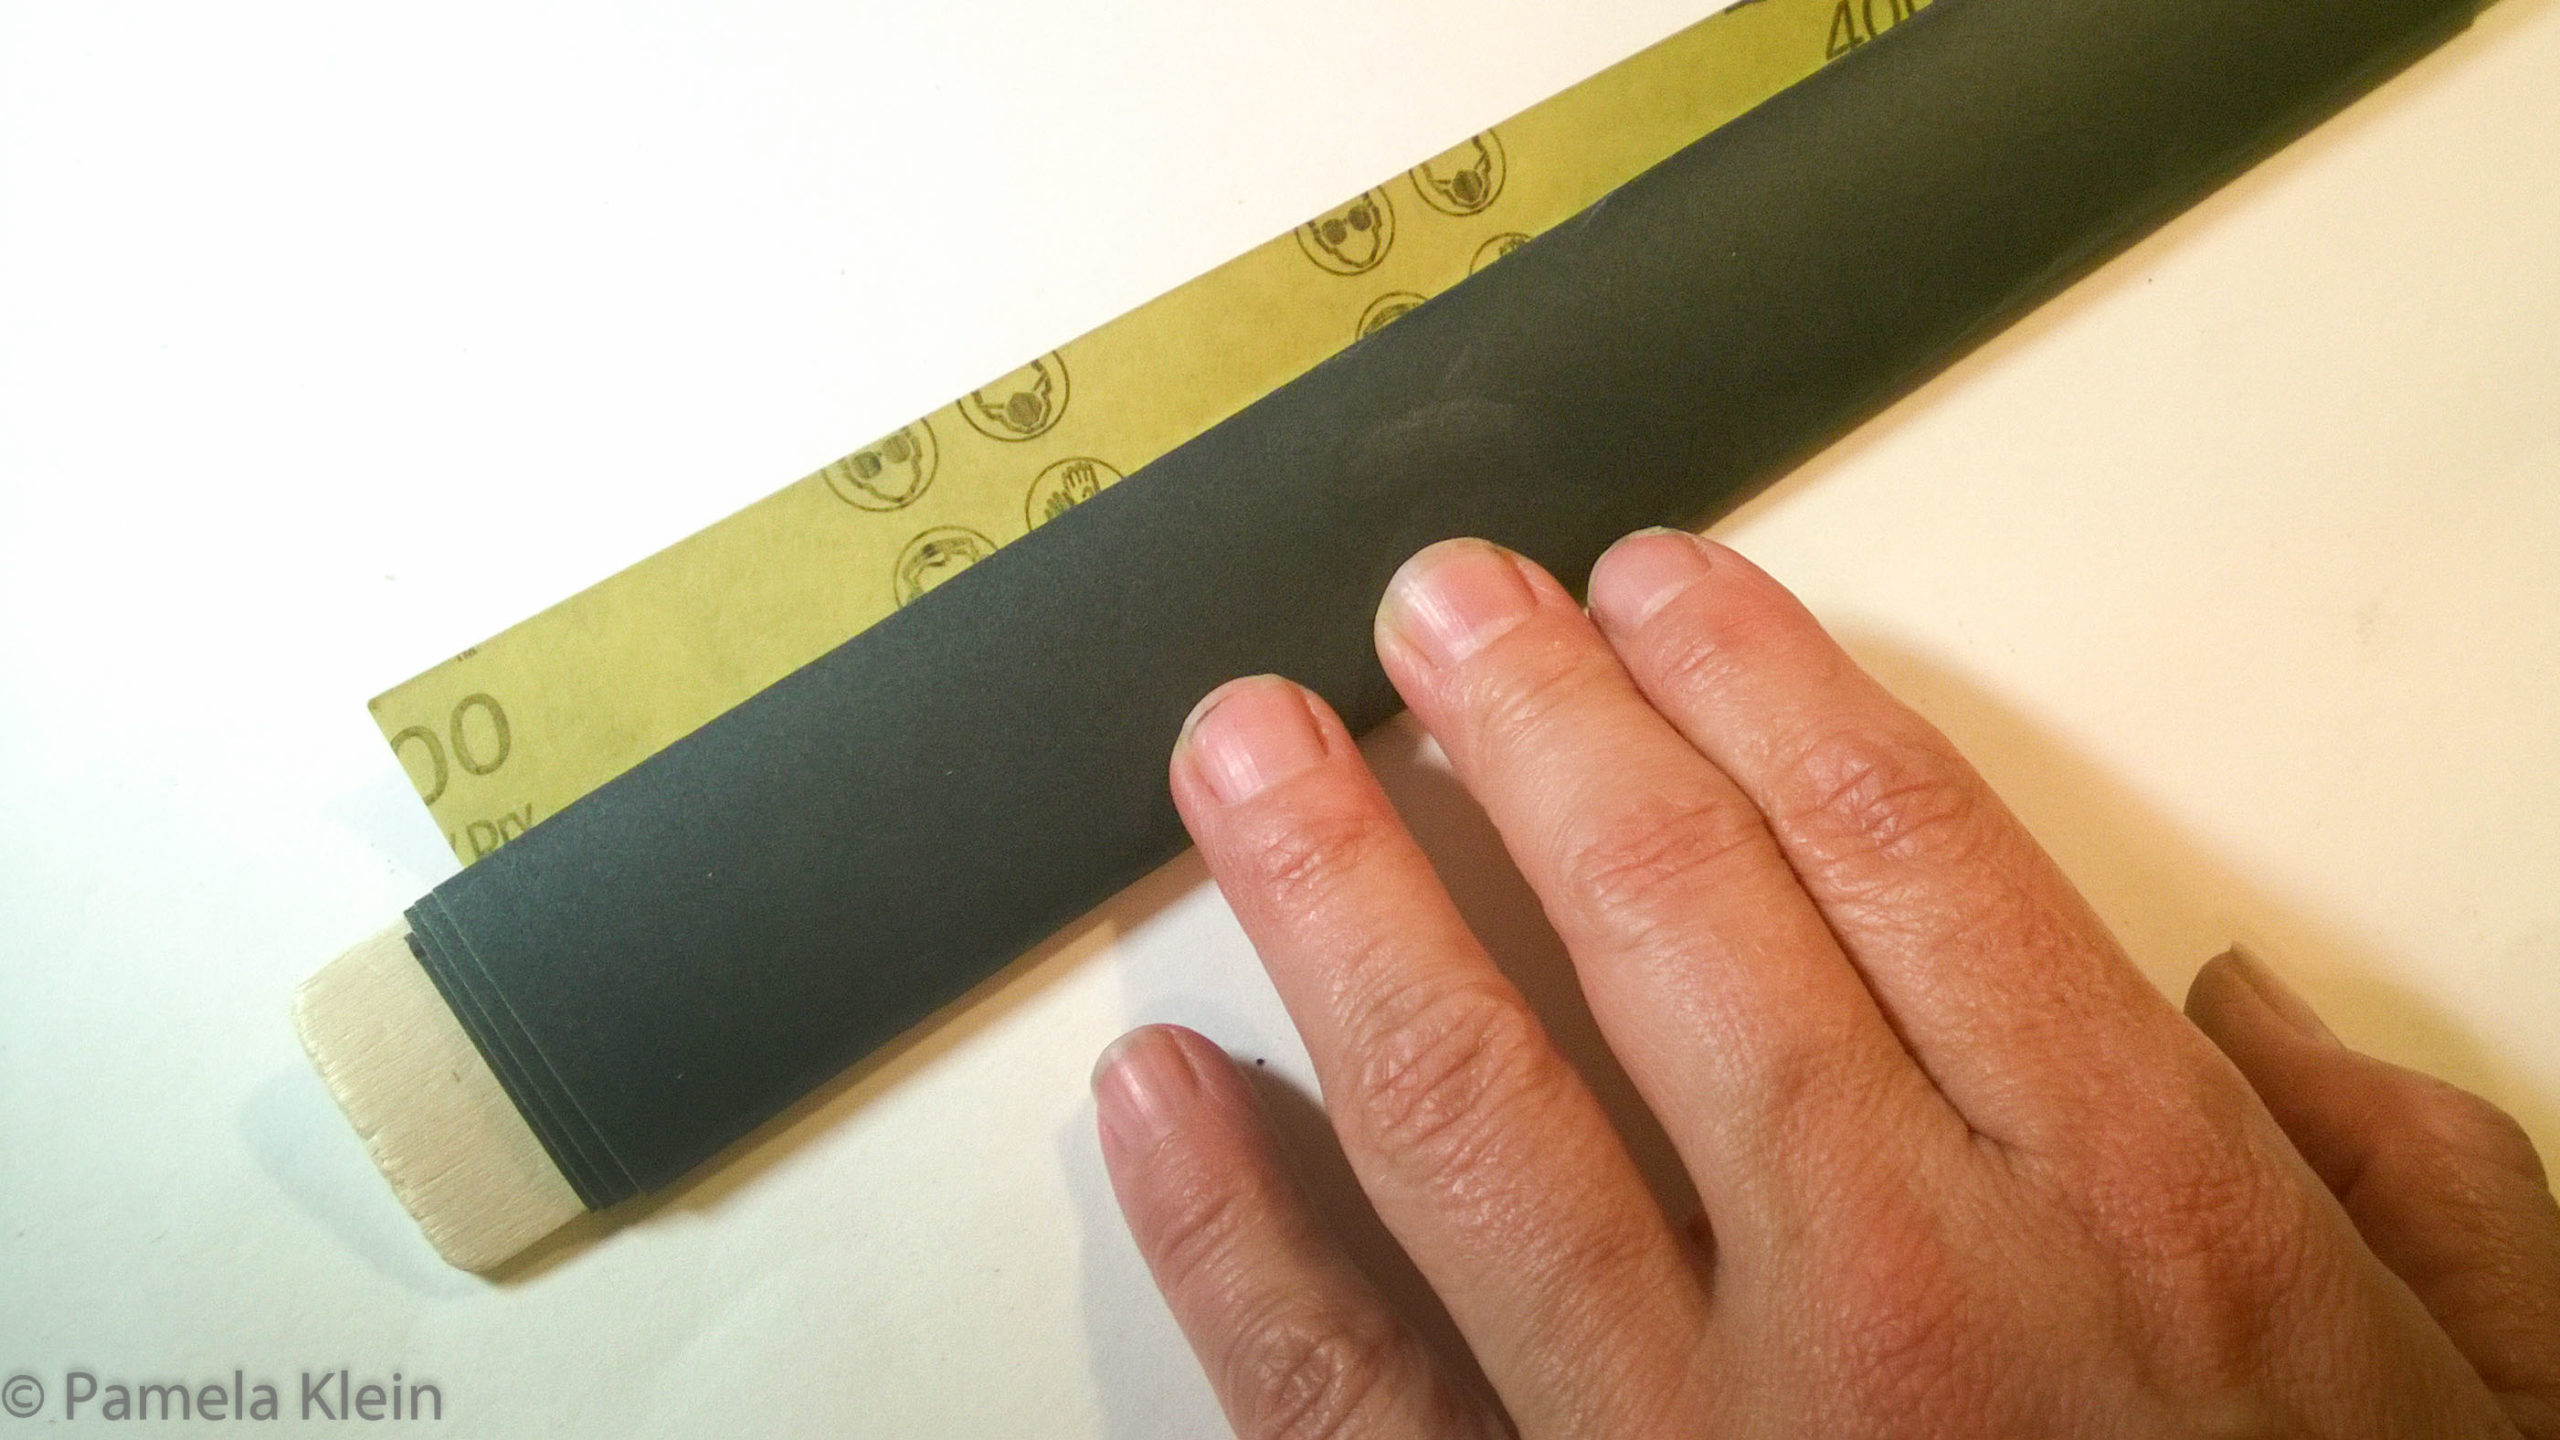
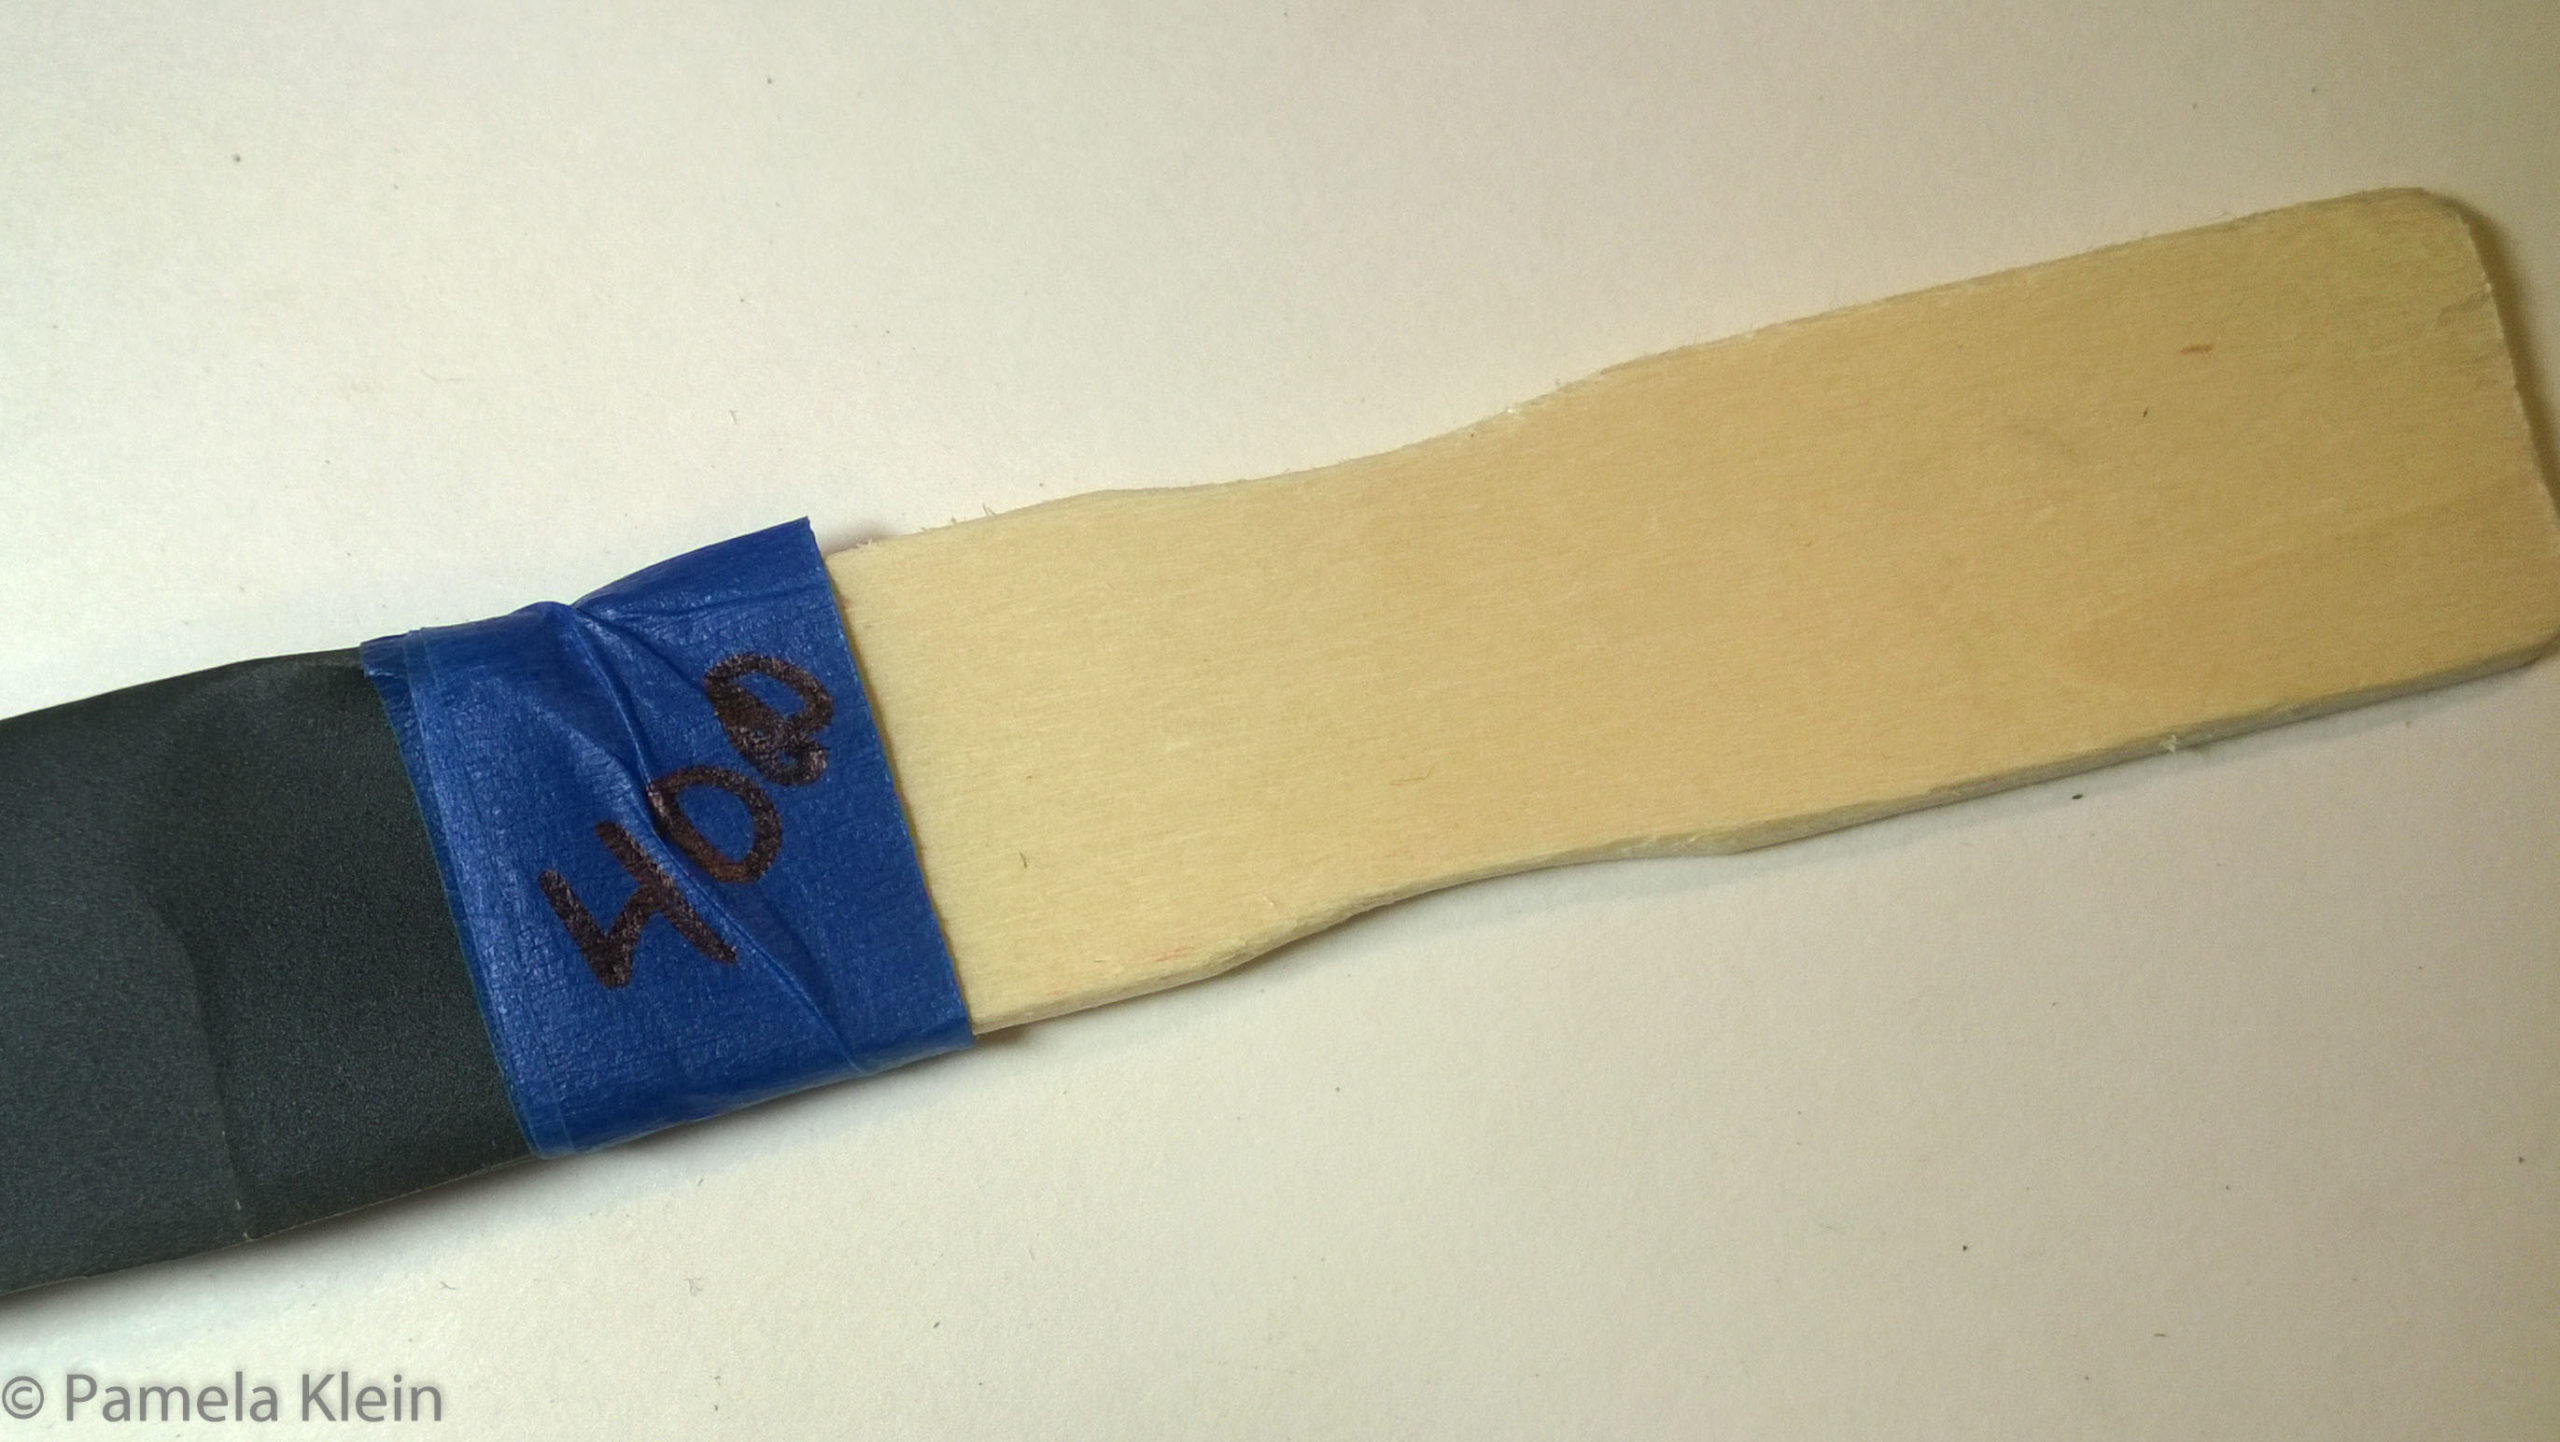
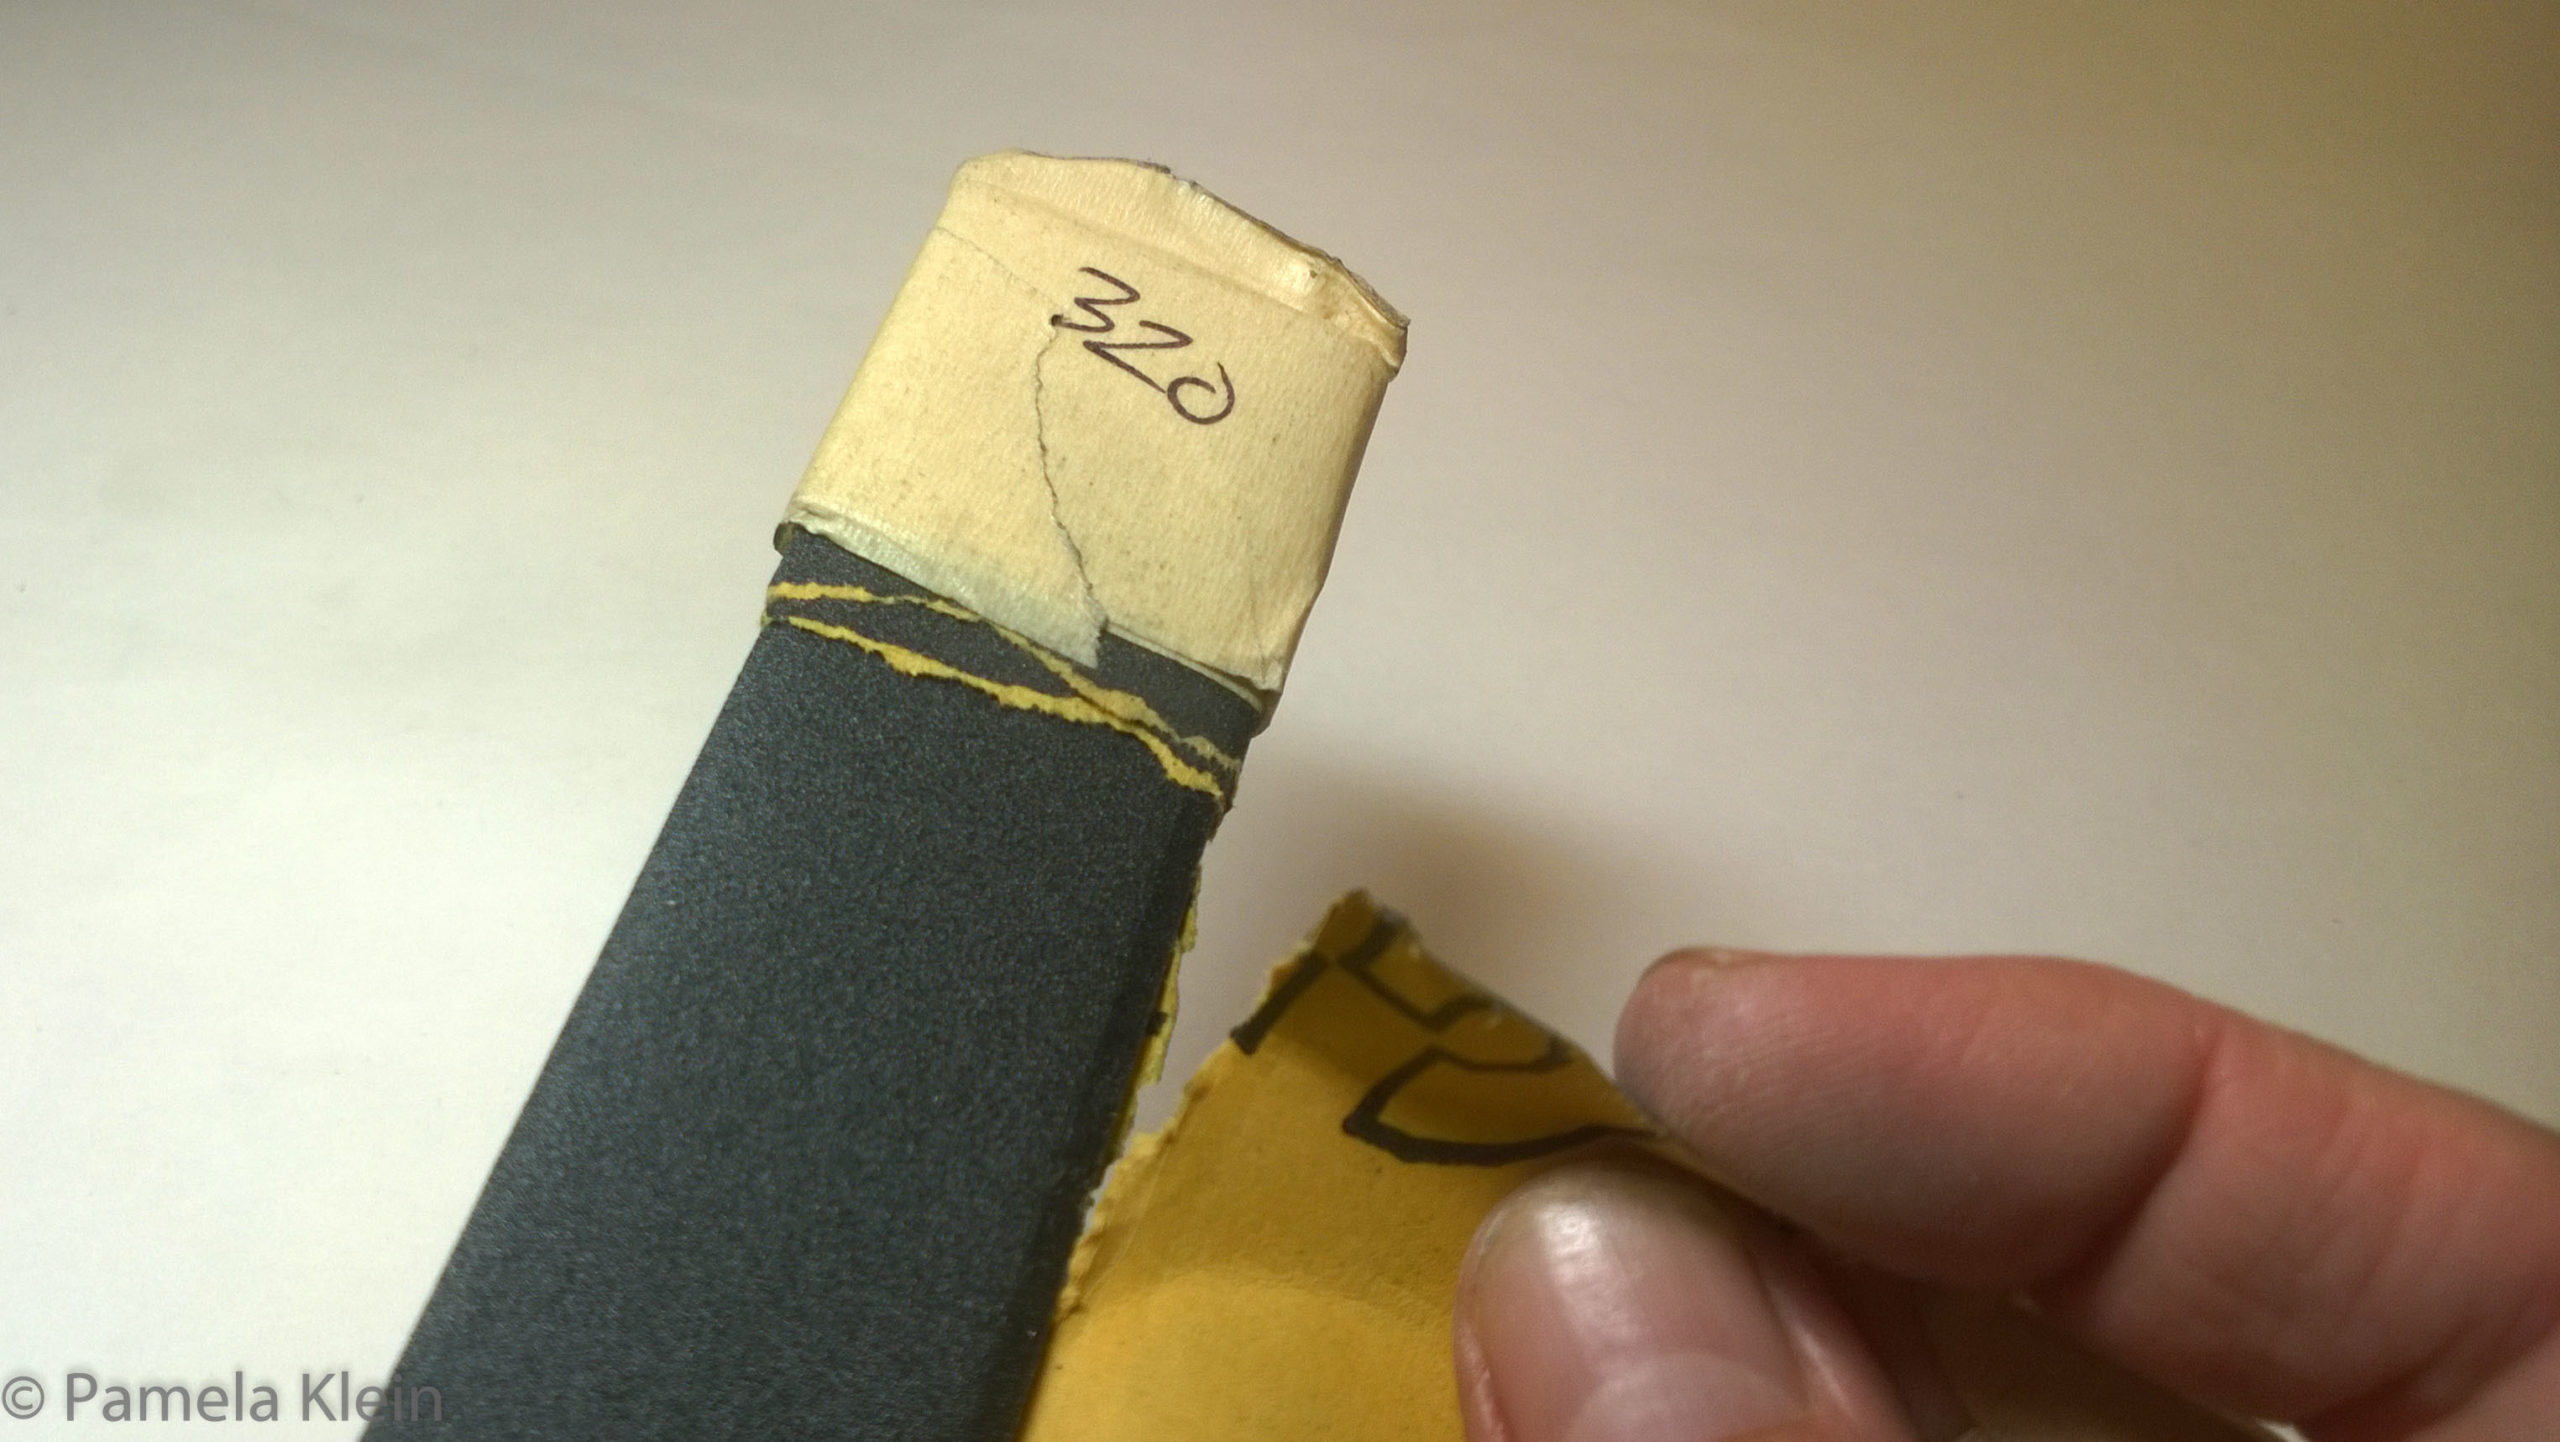
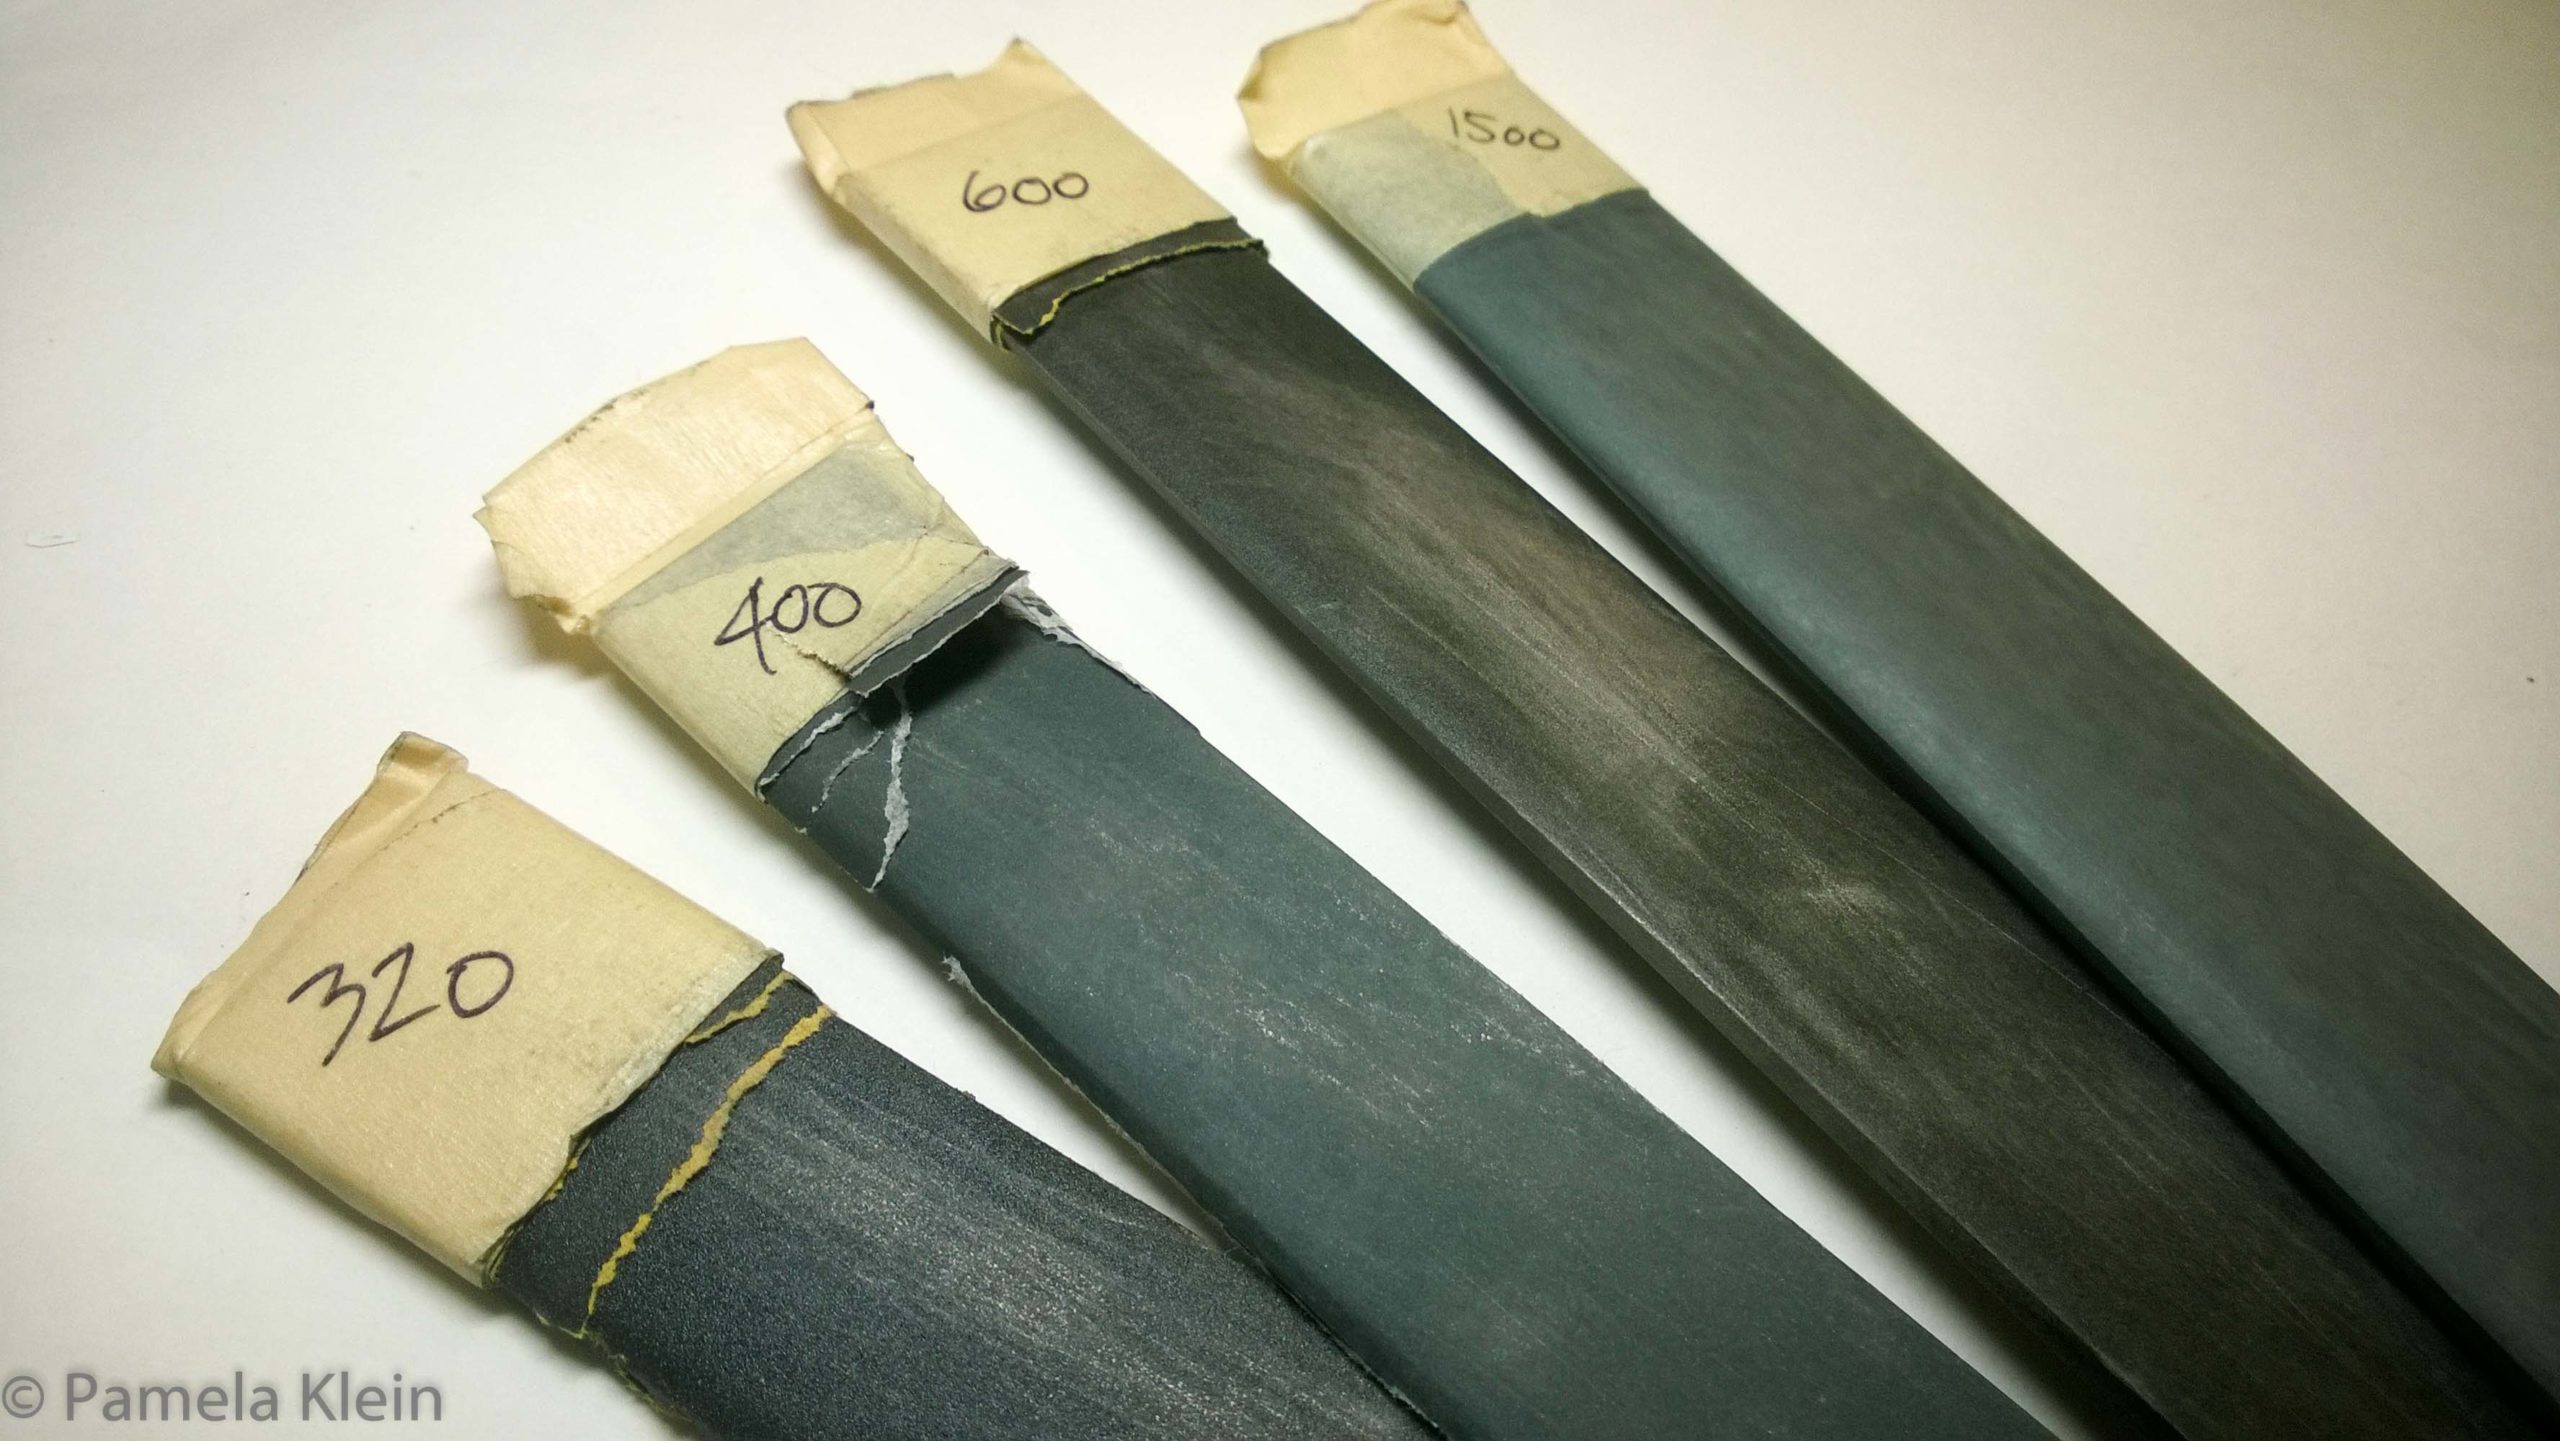
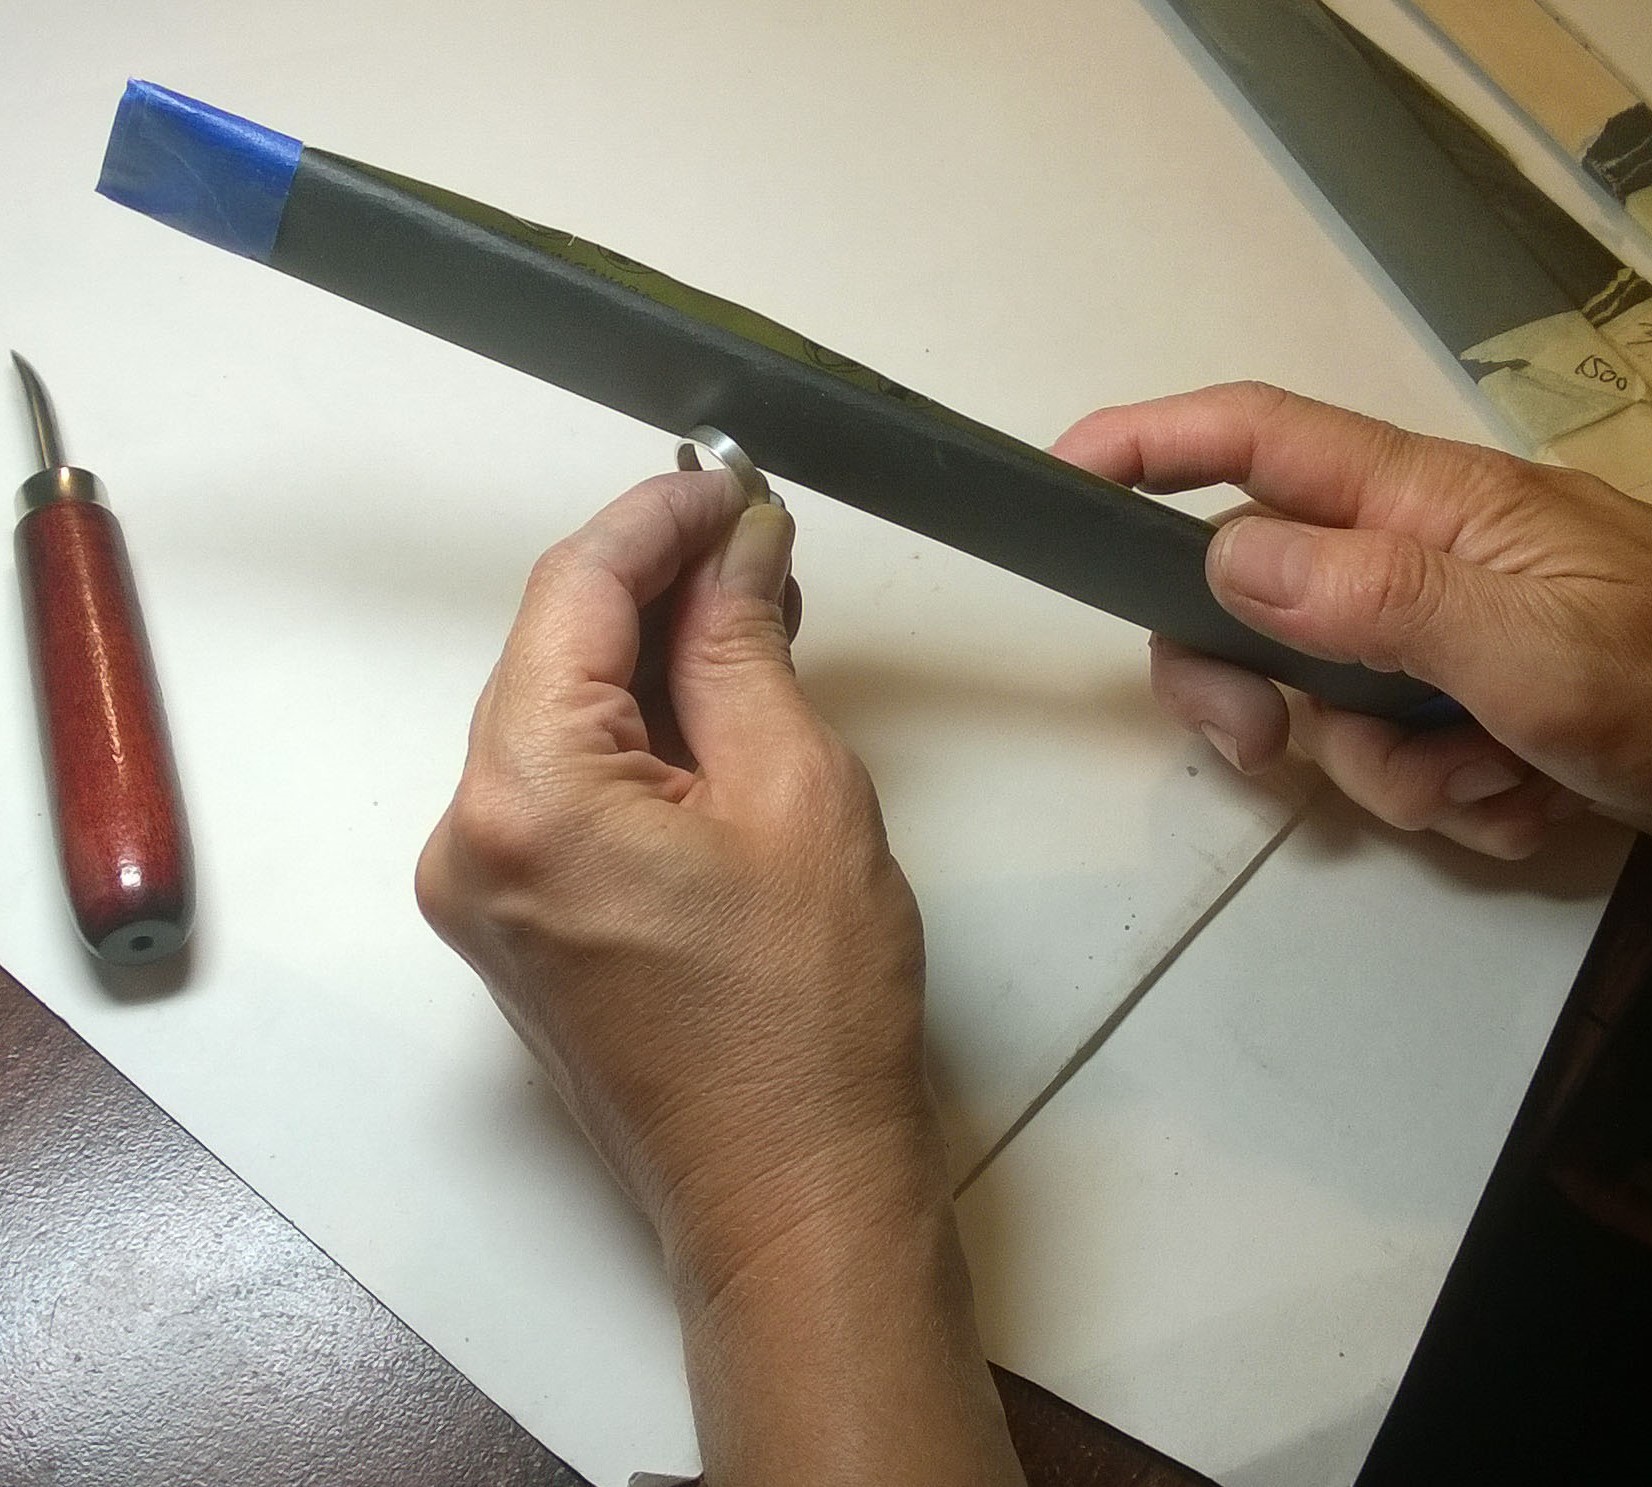
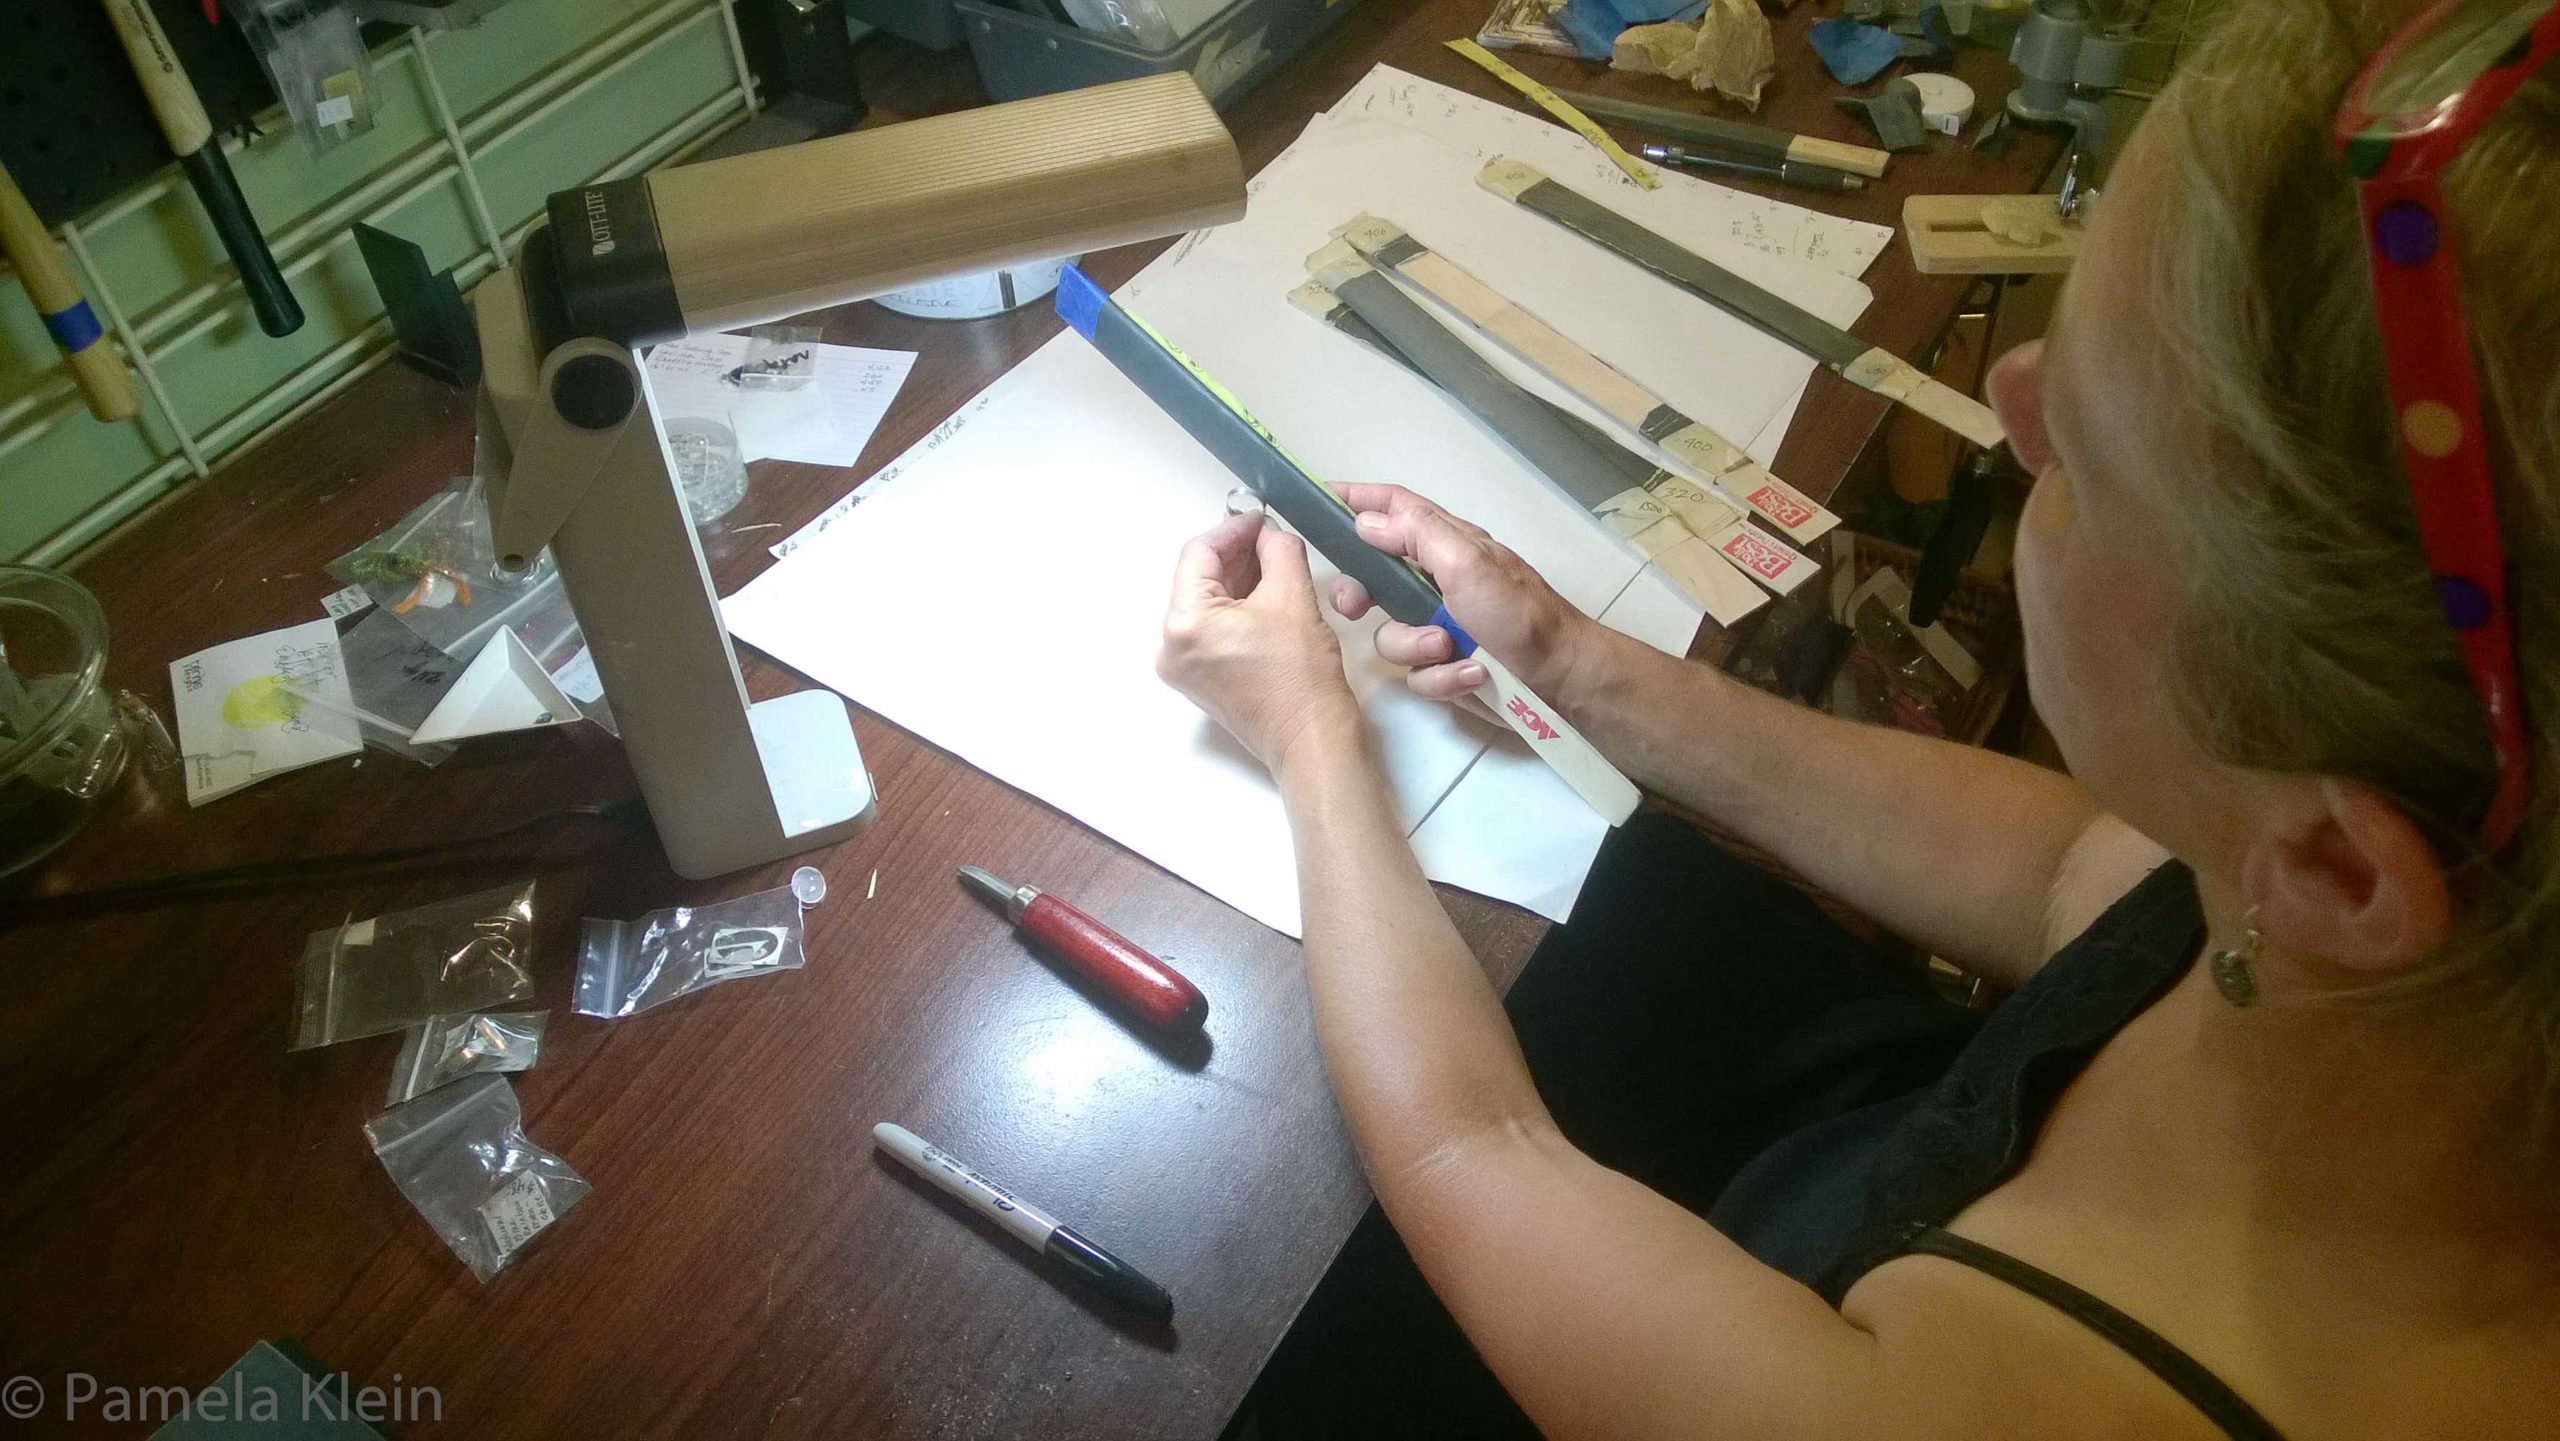
SLIDESHOW: Affordable, Indispensable, and Easy Handmade Sanding Sticks
To put it simply, sanding sticks are great. Particularly when you need good, firm pressure behind the sandpaper to accomplish your task. I like to use sanding sticks when I need to sand down edges and corners of sheet, to sand bezels and in tight spaces. They also save my tender, over-worked fingers from the ravages of the sanding job!
You can purchase sanding sticks of various grits from jewelry supply shops but, considering how fast we eat up sandpaper in our jewelry-making world, it is not a cost-effective option at all. This slideshow will show you how to fashion your own sanding sticks for less than $1.50 each. AND they’re reusable!
Options for sanding sticks of different shapes
You can make similar sanding sticks using different armatures. Instead of the paint stick, use a dowel rod to create a rounded sanding stick – perfect for inside ring shanks! Or use a popsicle stick for a smaller shape. Look around your house to see what will work for you! Save your fingers and make your sanding jobs quicker & easier!


Very clear instructions – thank you!
Thanks, I’m glad you found it useful!